
Whenever I want to install a Raspberry Pi, I don’t like to connect a keyboard and a monitor to setup SSH and WiFi. It’s much better to prepare the SD card on a normal PC and set up Wifi and SSH. Then you just need to put the SD card into the Raspberry PI and start it.
First of all, you need to restore the Raspbian image on an empty SD card. There are several tutorials in the www, so I will skip this step. I am using the discs-tool on Ubuntu 16.10. Using that tool, it’s just a couple of mouse clicks and the SD card is ready.
There are two partitions: “boot” and “filesystem”. Once they are mounted on your PC, you will find them at /media/username/boot and /media/username/xxxx-xxxx-xxxx
Enable SSH
For security reasons, SSH is switched of by default in newer Raspbian versions. This can be quite annoying, if you don’t know this and try to find the Raspberry in the local network. There are endless different manuals how to switch on SSH directly on the SD card. Most of the manuals take the most complicated way possible (maybe as a amateur radio operator, you like that), but the easiest and recommended one is to just put an empty file called “ssh” to the /boot partition:
cd /media/username/boot

touch ssh
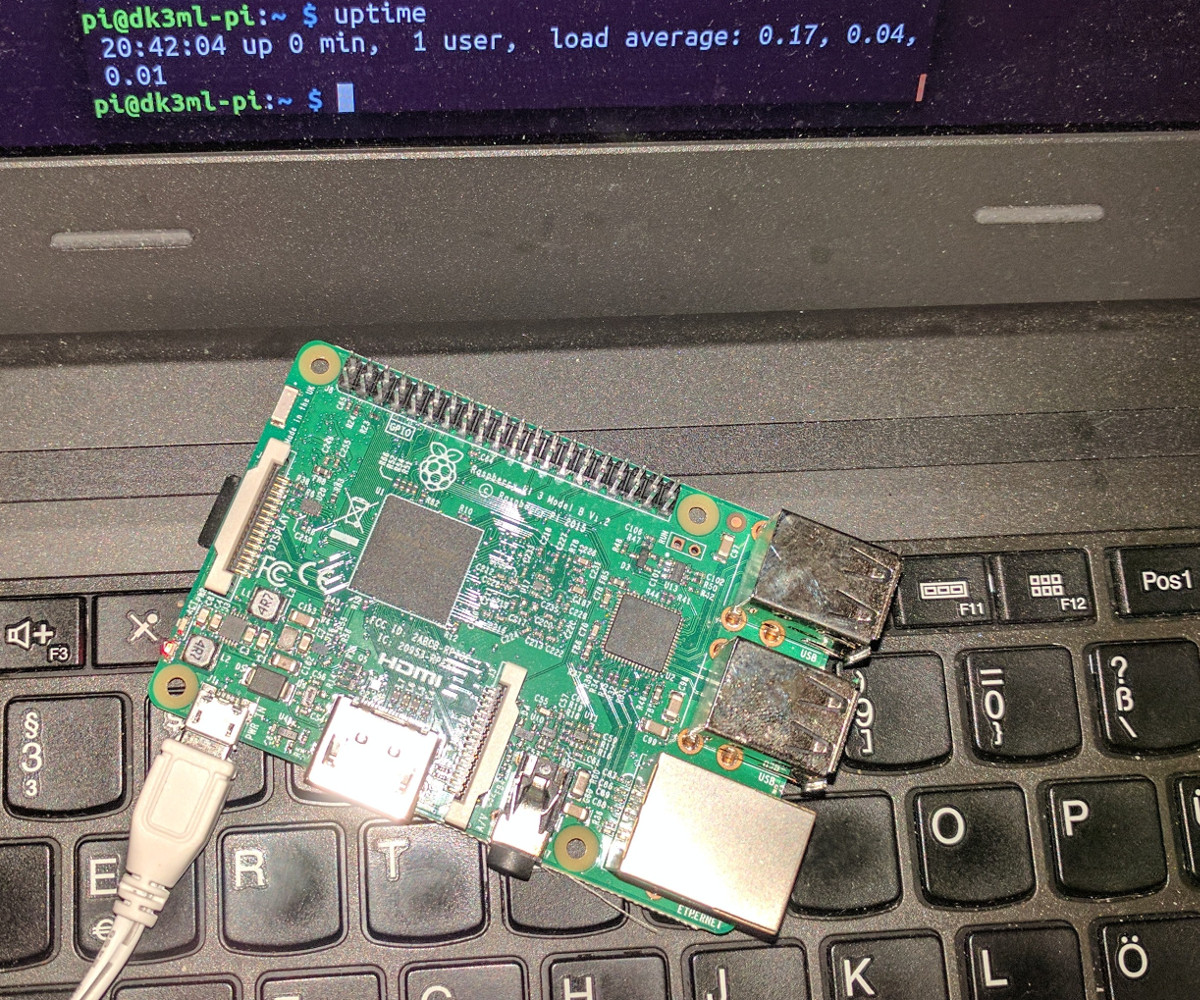
That’s it! Once you put the SD card into the Raspberry PI and start it, the SSH server will be enabled.
Set up WiFi
The next step is to set up the WiFi. As the Raspberry PI 3 has WiFi on board there is no need to connect a USB-WiFi dongle and there is also no need to connect a network cable, to set up Wifi. All that can be done directly on the SD card while it’s mounted on your PC.
The file you need to edit is on the filesystem partition at the path “etc/wpa_supplicant/wpa_supplicant.conf”. As it will contains the Wifi password it only can be opened as root.
cd /media/username/xxxxx-xxxx-xxxx/etc/wpa_supplicant/

sudo nano wpa_supplicant.conf
Now add the following lines at the end of this file:
network={
        ssid="your-ssid"
        psk="your-password"
        proto=RSN
        key_mgmt=WPA-PSK
        pairwise=CCMP
        auth_alg=OPEN
}
Save the file and you are ready.
Now put the SD card to your Raspberry Pi and boot it. The Raspberry PI should now automatically connect to the Wifi and you should be able to login via SSH.