
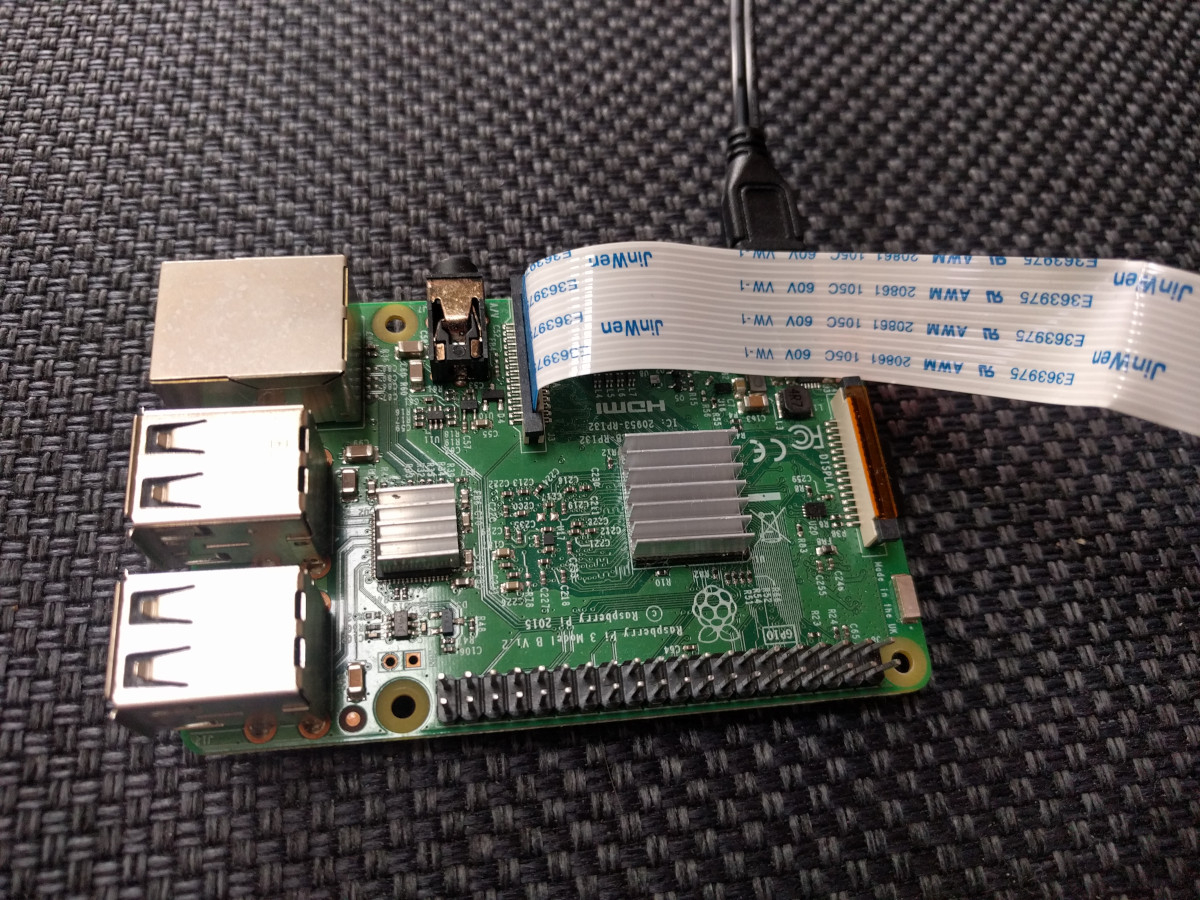
 When installing a Raspberry PI you sometimes don’t want to connect a monitor and a keyboard to it. With a few tricks it’s possible to prepare the SD card, so that it connects to the Wifi directly and SSH is enabled.
1) Copy image to SD card
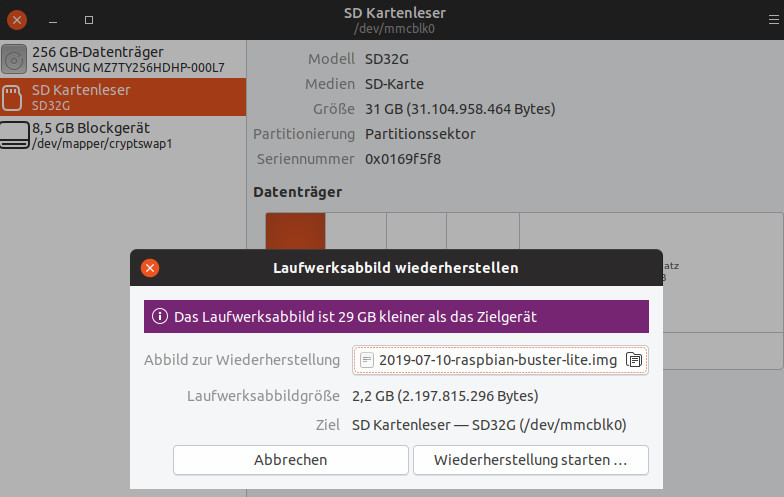
I use the Ubuntu Software “Laufwerke” (don’t know the English name, maybe just “drives”) to copy the raspbian image to the SD card. You can use other gui tools or even dd, but for me this is the easiest way. Once the image is restored there are the following partitions on the SD card: boot, rootfs and some empty space (depending on the size of your SD card.
2) Enable SSH
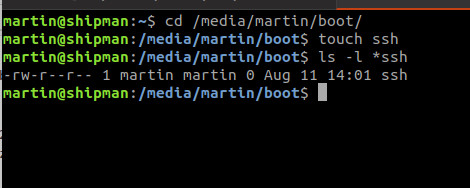 Since a couple of rasbian versions, ssh is disabled by default. The reason is that it was a security risk as many people did not change the default password and connected the Raspberry PI directly to the internet without firewall. To activate ssh on startup you need to add an empty file called “ssh” to the boot partition of the SD card. I did this using the terminal, but you can also use the file manager instead. Please be aware of the security issue and change the password as soon as the rasbperry booted later.
cd /path/to/sd/card/boot

touch ssh
3) Set up wifi
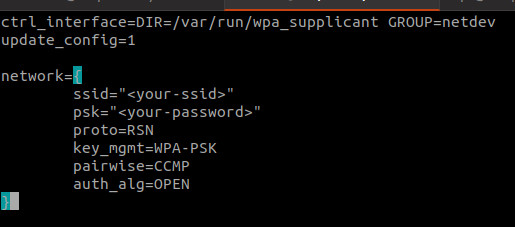 You can edit the vim ./rootfs/etc/wpa_supplicant/wpa_supplicant.conf and add the credentials for your local wifi. I know there is a more secure way instead storing the credentials in plain text, but it should do the job for now. You need to edit the file on the sd card using sudo as it belongs to root. After adding the configuration, the file should look like this:
ctrl_interface=DIR=/var/run/wpa_supplicant GROUP=netdev
update_config=1

network={
        ssid=""
        psk=""
        proto=RSN
        key_mgmt=WPA-PSK
        pairwise=CCMP
        auth_alg=OPEN
}
4) Change hostname
If you want, you can also change the hostname. By default it’s “raspberrypi”. Mainly when you set up several Raspberries at once it might make sense to set an individual hostname for each of them to find them easily later in the network. To change the hostname, just edit the /etc/hostname file on the rootfs of the sd card
5) Boot the Raspberry Pi
That’s it. Now unmout the SD card, put it in your raspberry pi and switch it on. After a few seconds you should be able to see the raspberry in your network using ping. You can now use ssh to login. Please make sure that you change your password now.
ssh pi@raspberrypi
Warning: Permanently added the ECDSA host key for IP address '192.168.0.130' to the list of known hosts.
pi@gopi's password: (default is "raspberry")
[...]
SSH is enabled and the default password for the 'pi' user has not been changed.
This is a security risk - please login as the 'pi' user and type 'passwd' to set a new password.

pi@raspberrypi:~ $ passwd
Changing password for pi.
Current password:
New password:
Retype new password:
passwd: password updated successfully
That’s it. Now you can run raspi-config, change the other settings and enjoy your raspberry.